


Knife Handle Replacement
It's important to take care of the blade of your knife, but it's just as crucial to also care for the knife's handle. If not careful, it can become a source for rust, brittleness or even your knife becoming unusable.
Sometimes, you may need to replace your handle - especially if it's a Japanese one. That said, this is very easy to do! This article will teach you how to both care for and replace your knife handles, and you only need a few things to get started.
Knife Handle Care Tips
Even when caring for a knife properly, many people unintentionally overlook the handle. As a result, there's many cases where the handle has rot on the inside completely and the knife owner hasn't realised it, leaving a very unsafe and brittle knife.
When this happens, even though the knife itself can still be used, the handle becomes so worn that the knife becomes unrepairable and thus unusable when it eventually breaks, so for the sake of your knife's longevity it's crucial to care for the handle, as well as the blade and everywhere else on your knife.
Most importantly, you want to make sure you're preventing the core inside your knife handles from rusting. It's inevitable that after a long period of use your handle will get damaged - especially the wooden parts of it. This is normal through wear and tear. However, the blade core itself needs to stay safe and undamaged as it's what connects your handle to the knife blade itself.
Both Japanese and Western-style knives have different core structures, and as a result must be cared for differently. Here's some specific tips depending on what kind of handle your knife has - just click on or touch the tab that's relevant to your knife!
As a safety tip, do not use your knife for 24 hours after you have changed the handle. It needs time to settle and may break if used before that time.
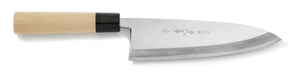
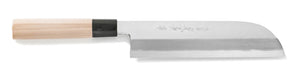
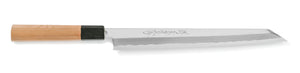
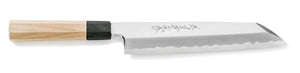
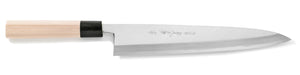
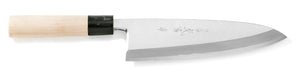
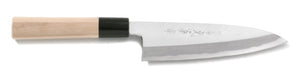
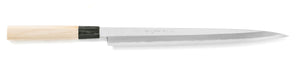
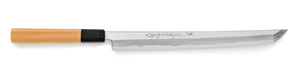
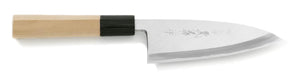
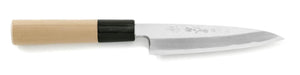
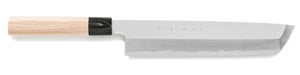
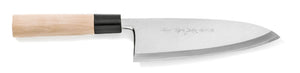
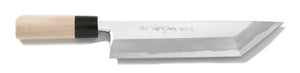
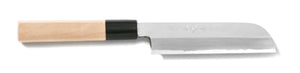
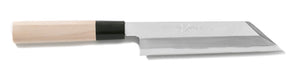
- JAPANESE STYLE-HANDLE
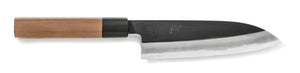
- WESTERN-STYLE HANDLE
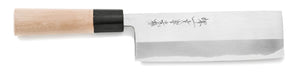
Handles for Japanese knives are more simple than you'd think. The blade core is simply inserted into the knife handle after being heated up. There are two main things to look out for when caring for a Japanese-style handle.
Firstly, make sure the handle glue is intact and covering all gaps. This is the glue that keeps the handle in place, and is put there during handle installation - you'll be able to see it at the top of your blade handle, where the knife sockets in. The handle socket may have gaps remaining in it after the blade core is inserted into the handle, and this is a potential entry point for water which could rust the blade core. We put the glue there also to seal these points up. When your replace your handle, you'll need to replace this glue also.
Also, over time Japanese wooden handles will naturally oxidise and also deteriorate. With heavy usage this will happen faster. When it does, you may start to see cracks appearing on the handle. It's crucial to replace the handle the moment one of these cracks appears, otherwise water could get into it.
If either of these are left unattended and rust starts forming, it makes the blade core inside the handle thin out, eventually making handle replacement impossible. Note that this can happen with the bolster as well, so be sure to look for cracks there too.
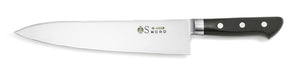
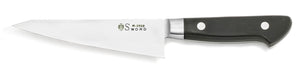
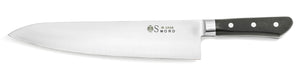
Western-style knives are generally made by sandwiching the blade core with wood on both sides, securing it with rivets afterwards. As the wood used for these handles is generally compressed plywood (except for cheaper models that may use plastic), this generally makes Western-style handles more durable than Japanese-style ones.
However, you need to make sure to pay attention to the joint between the core and the wood. As this joint is exposed, moisture can cause it to rust over long periods of time, which affects the durability of the core. If the rust is left untreated, the core will start to swell up, loosening the rivets and causing the knife to rattle - which is very dangerous as it could fall apart during use. Depending on the state of this rust, the core and thus the knife may not be repairable.
The most crucial care step you can do here is to make sure no moisture remains in that seam after usage, and dry it thoroughly.
If you approach handle care for Western-style knives the same way you'd approach general knife care (always keep it dry or get it back to dry as soon as possible), you'll most likely be fine - just be sure to inspect that seam a little more closely. You should also inspect the bolster too, as that's where the wood meets the blade. Western-style handles are difficult to replace, often needing specialised equipment so it's strongly advised to be more particular about handle care on these knives.
Steps to Replace a Japanese Knife Handle
Originally, Japanese knife handles were replaced regularly and that was a very normal part of Japanese knife usage.
As a result, even today Japanese-style handles are very easy to replace.
When should you replace the handle?
As mentioned earlier, the handle can become damaged before you even realize it. And if left unattended to, it will deteriorate your knife and possibly render it unrepairable, so we recommend replacing it at the first sign of any of the following:
- When you see cracks in the handle
- When the bolster cracks or breaks off, leaving a gap in the socket
- When the handle has worn down and shrunk in size
- When the glue no longer seals the socket completely
What tools are needed?
Replacing the handle itself is simple, but some tools will be needed. Here's a checklist:
- Mallet
- Gas Burner (you can also use a stovetop gas burner)
- A piece of wood
- Hammer
- File or sandpaper
- Bonding Agent or Silicone
Many of these can be substituted, but a mallet and a gas burner will always be required.
How to change the handle
Step 1. Remove the damaged handle
Removing the old handle comes before anything else, but this can be difficult if the core is firmly inserted and the glue is strong. A mallet and piece of wood will provide enough strength to knock it off though.
Place the piece of wood against the side of the "top" (blade facing) side of the handle and hit that piece of wood with a mallet. This may take a few hits, but eventually the old handle will come off, leaving behind the blade core.
Step 2. Remove rust from the blade core and polish it
Depending on the condition of the core (which may depend on how quickly you replace the handle from first sign of damage), the rust may be quite severe. If left unattended, it can spread even further.
Without deforming the blade core, use sandpaper, a file or even some Miracle Clean to remove the rust.
If the rust is extremely severe and swollen, lightly heat the core up with a gas burner. After that, tap the core with a mallet and the swollen rust should come off.
Step 3. Correct any deformities in the core
Inspect the core again, looking at its shape. If it's bent, hit it with a hammer to straighten it out. If you insert the handle with the core bent in anyway, the blade will also be bent when it's used.
Most importantly, just make sure it has a straight angle compared to the rest of the blade. As long as that's the case, it should be fine.
Step 4. Heat the core with a gas burner
The socket on the handle is thinner than the blade core itself, so you need to heat this blade core to make sure it can effectively mold its way in. Be sure to thoroughly heat the core.
Be careful with heating the blade core, however. If you heat the blade itself, it will lose its hardness and sharpness. This is why a gas burner, with it's more precise heating channel is preferred. Be sure to only heat the part of the blade being inserted into the handle.
Step 5. Insert the core into the handle
Insert the knife core while it's still hot into the handle via the insertion socket. Smoke will come out as you do this, but that's normal due to the hot blade core hitting the wood. Push it by hand until movement stops, without forcing it too much as the next step will take care of the rest.
Step 6. Hit the base of the handle with a mallet
If you only try to insert the core into the handle by hand, it won't go the entire way in.
The best way to get the final part of this core inside is to hit the base of the handle with a mallet.
By doing this over many hits, the blade will gradually go further into the handle until it fits into place. Again, make sure it is straight.
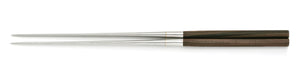
Keep hitting until the handle hits the Machi (the top of the core, visible as a small bump in the image above.) If your blade doesn't have a Machi, go until there's only 1-2cm of the blade core left visible.
Step 7. Insert glue into the handle's insertion point
Put plenty of glue, silicon, bonding agent or similar material into the insertion point. You want to make sure it is full or at least fully sealed to prevent water being able to get in and rust your blade core.
And with that, your handle is replaced! Of course, we can always do this in store for you, or you can mail your blade to us and ask us to replace the handle. We also do demonstrations of this when we go to trade shows, so keep an eye out for us at those also.
What about Western-style Handles?
Western-style handles are fixed in with rivets, giving them enhanced durability. As a result, from the beginning they are designed to not be easily replaced, or really replaced at all.
Therefore when the handle does need replacing, it's often a pretty serious problem that's caused it. Generally this requires specialised tools, so we recommend taking your knife to a specialist instead. We believe in always trying to save knives, so contact us if you need repair works and we can guide you in the right direction.
A healthy knife handle is a healthy knife! And a safer knife to use!